Nether wart is a key ingredient in Minecraft for crafting many types of potions. If you’re wondering how to grow nether wart in Minecraft, the process is simple once you know the basics. With the right setup and understanding of how it behaves, you can have a steady supply for all your brewing needs.
Where to Find Nether Wart
Before planting anything, you’ll need to get your hands on some nether wart. This plant can be discovered in two main structures: Nether Fortresses and Bastion Remnants. In Nether Fortresses, it’s commonly found near staircase areas, planted in soul sand. Bastion Remnants, especially the ones with treasure rooms, might also contain nether wart alongside soul sand blocks.
After collecting it, you’ll be ready to begin your very own nether wart farm.
Preparing to Grow Nether Wart
To grow nether wart, you must plant it specifically on soul sand. It does not grow on soul soil or regular dirt blocks. Interestingly, it doesn’t require any light or water, and it grows just as well in the Overworld, the Nether, or even the End.
All you need to do is place down soul sand and plant the nether wart directly on top. There’s no need for tools or fertilizers, and the conditions don’t have to be specific. It’s one of the few crops in Minecraft that grows under nearly any environment, as long as the soul sand is in place.
Stages of Growth and Growth Rate
Nether wart goes through three visible stages during its development. When planted, it starts as a small sprout. Over time, it becomes taller and thicker. The final stage is when it appears bulky with a rough texture, that’s when it’s fully grown and ready to harvest.
The growth rate is unpredictable. There’s no fixed time for it to mature, and using bone meal has no effect on speeding it up. Because of this, players often plant multiple warts at once to ensure a consistent harvest over time.
Harvesting and Replanting
Once your wart reaches its mature stage, you can break it by hand to collect the yield. Fully grown plants drop between 2 to 4 nether warts, which allows you to easily harvest nether wart and replant immediately afterward.
Replanting right after harvesting ensures that your farm stays productive. Since it doesn’t require maintenance like watering or lighting, you can set it up once and just return periodically to collect more.
Building an Efficient Nether Wart Farm
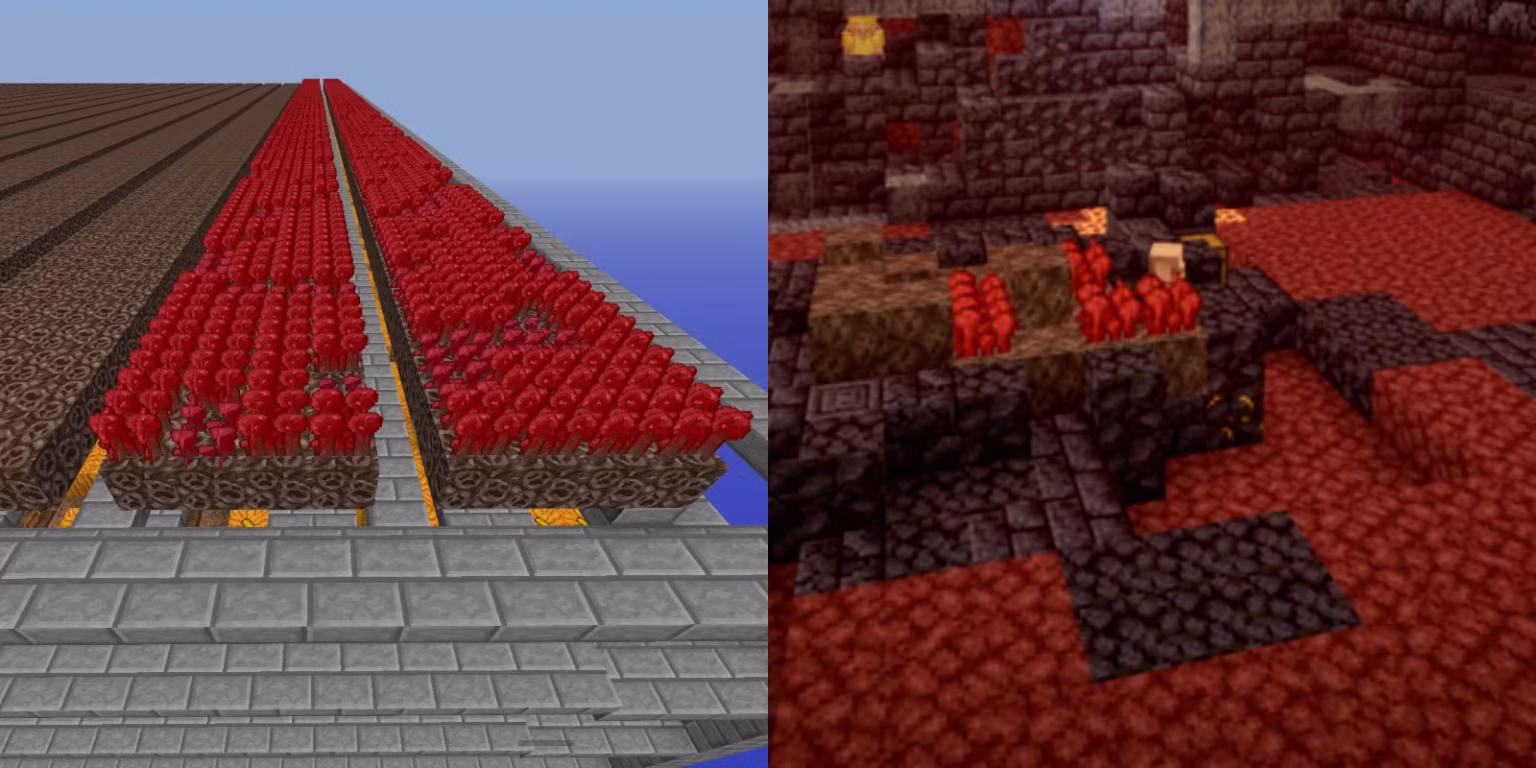
While a basic setup works fine early in the game, players who frequently use potions benefit from a more organized nether wart farm. You can build this in any dimension. For easier access and efficiency, use flat layouts with soul sand in rows and small walkways in between for movement.
Setting up the farm close to your brewing station can save time. Although automation is limited since growth is random and bone meal doesn’t help, you can still streamline the harvesting part using pistons or redstone.
Tips for Long-Term Farming
It’s wise to keep a backup supply of nether wart in a chest, just in case your farm gets damaged or cleared. Also, if you’re running low, revisit Bastion Remnants or Nether Fortresses to gather more soul sand and warts.
Many players choose to grow their crops in the Nether for thematic builds, but you can grow them anywhere without performance loss. Regardless of your farm’s location, maintaining a healthy supply will support all your potion-making needs.
Conclusion
Mastering how to grow nether wart in Minecraft is essential for anyone interested in alchemy or combat preparations. With soul sand as the foundation, and by understanding the stages of growth and proper harvesting times, you can create a reliable source of ingredients. Whether you’re exploring dangerous lands or gearing up for battle, a strong nether wart setup will always come in handy.
Read More: Suit Skins for Minecraft