In the hostile sci-fi survival world of StarRupture, progress never comes without consequences. While players may focus on automation and expansion at first, danger quickly escalates as the environment reacts to growth. For this reason, the star rupture monolith stands as one of the most important systems shaping survival, strategy, and long-term success.
Rather than serving as background scenery, monoliths actively influence how players build, upgrade, and defend their bases. Understanding them early prevents costly mistakes later.
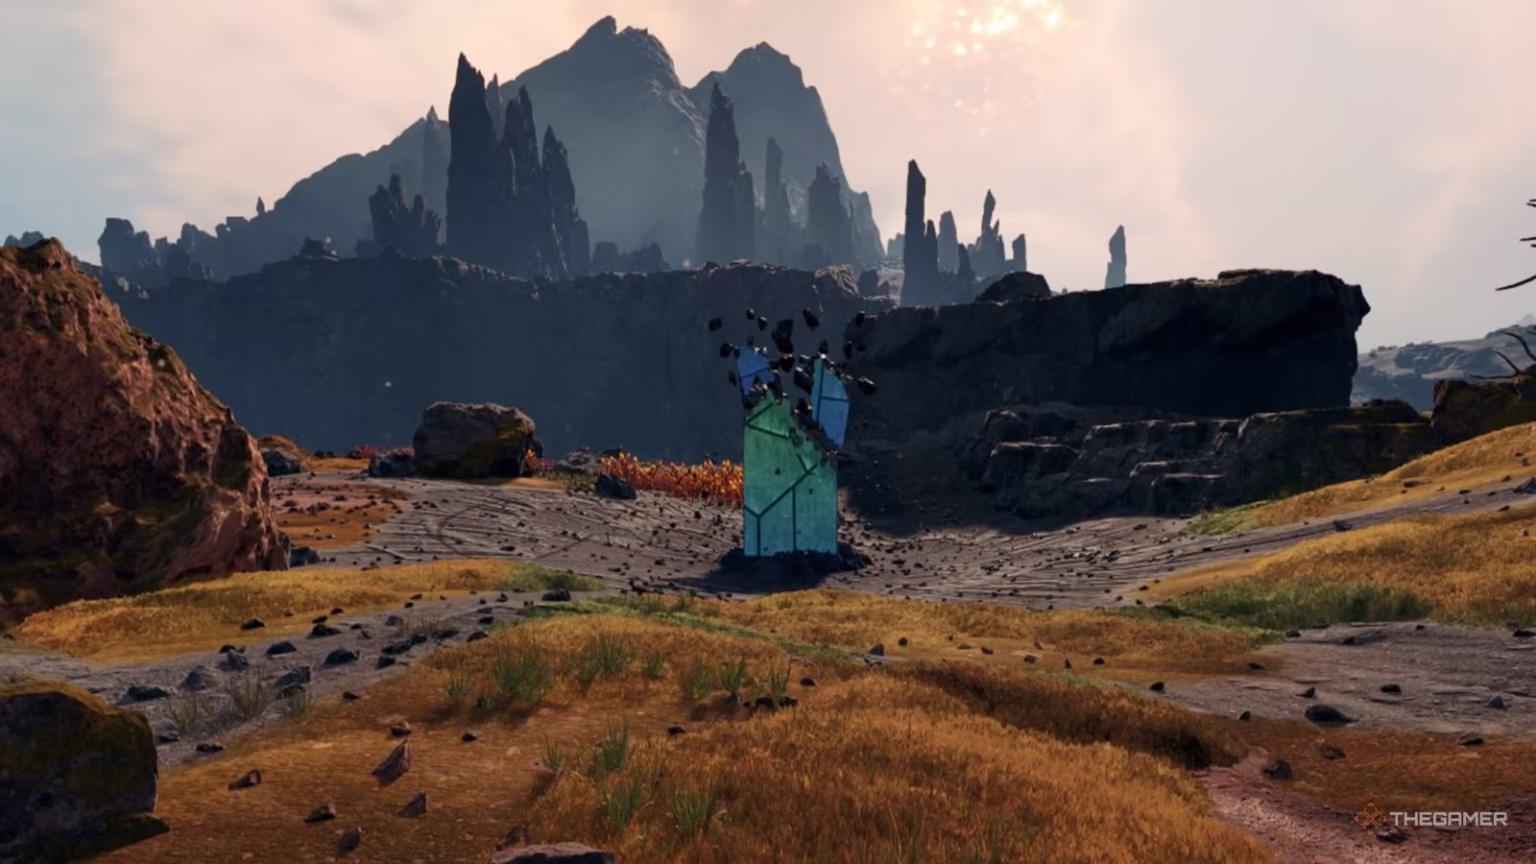
What Is a Star Rupture Monolith?
A star rupture monolith is a massive alien structure embedded across the planet’s surface. At the start, it appears dormant. However, once players upgrade their Base Core, the monolith immediately shifts into an active threat source.
Instead of spawning random wildlife, monoliths generate organized enemy waves that move with a clear objective. These enemies travel directly toward the Base Core, which forces players to prepare defenses instead of relying on chance encounters.
Moreover, monoliths scale alongside progression. As bases grow stronger, these structures respond accordingly. Consequently, the game maintains pressure even during late-game expansion.
How Monoliths Trigger Enemy Attacks
Monolith activity begins after the first Base Core upgrade. From that point onward, enemy waves originate from nearby monoliths and follow direct attack paths toward the base.
Unlike natural enemies, these attackers behave aggressively and consistently. They do not wander. Instead, they push forward in waves designed to exploit weak defenses. As a result, players must anticipate attack directions rather than react at the last moment.
Furthermore, these waves often align with rupture cycles and major upgrades. Therefore, careless progression frequently leads to overwhelming assaults.
Star Rupture Monolith Locations Explained
Monoliths appear throughout the world map and reveal themselves through exploration. While exact placement varies between playthroughs, certain patterns remain consistent.
Typically, monoliths appear near valuable resource zones, abandoned structures, or natural expansion routes. Because of their towering design, players can identify them from a distance and plan accordingly.
However, this placement creates tension. High-value areas often sit dangerously close to monoliths. As a result, players must weigh resource rewards against defensive risks before expanding.
Why Monoliths Shape Base Strategy
The star rupture monolith fundamentally changes how players design their bases. Once monoliths activate, defensive planning becomes unavoidable.
Players must consider turret coverage, choke points, wall orientation, and power stability. Additionally, expansion direction becomes a strategic choice rather than a convenience. Expanding toward a monolith without preparation often leads to repeated base damage and resource loss.
In contrast, players who plan carefully can turn monolith attacks into predictable challenges. Therefore, smart design transforms pressure into control.
Practical Tips for Managing Monolith Threats
Preparation always matters more than reaction. Defenses should face the nearest monolith, and weak points must be reinforced before initiating upgrades. Meanwhile, radar awareness helps track attack routes and timing.
Over time, enemy behavior becomes predictable. Consequently, players who adapt their layouts gain a significant advantage and reduce long-term damage.
Why the Star Rupture Monolith Defines Progression
The star rupture monolith is not merely a hostile structure. Instead, it defines how progression works in StarRupture.
By tying enemy escalation directly to player growth, the game ensures that every upgrade carries responsibility. Expansion demands planning, and success requires discipline. Ultimately, mastering monolith mechanics separates temporary survival from true planetary dominance.
Up Next: Starrupture Fast Travel: Unlock Teleporters & Explore Arcadia-7